FREE SHIPPING ON USA ORDERS OVER $150
FREE SHIPPING ON USA ORDERS OVER $150
July 02, 2018 0 Comments
There are some truths and a lot of myths out there about wooden cutting boards. This is part 1 in a series of 3 blog posts I’ll be releasing on the topic. I’ll take some time to debunk some popular beliefs about them and shed some light on these three topics in particular:
- How to choose a good cutting board
- How to care for your cutting board
- How to fix a warped cutting board (if you didn't follow the first two!)
Sign up HERE to make sure you are the first to know when we release new products and useful information.
Recently I was having a conversation with some customers at a craft fair about the best way to flatten a warped or cupped cutting board; it became obvious that there are a lot of old wives’ tales and confusion about the best way to do so. (It reminds me of many a conversation about the proper way to wash, use and season a cast iron pan)! So, I thought I'd take a minute to set the record straight, specifically on why we suggest the “turn it over” method and why this super simple method works.
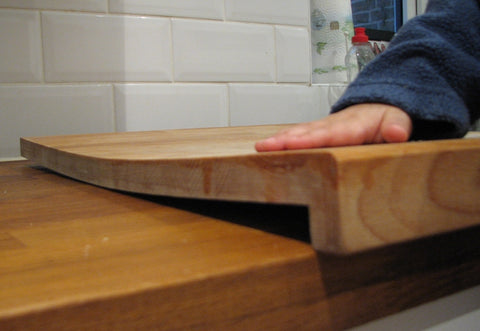
- This cutting board has seen better days - but could still be flattened!
Let’s assume that you have a warped board. Warping takes place because your board wasn't built properly, or has not been properly cared for. What to do? There are a lot of crazy suggestions out there. Here are a few that I have heard during conversations:
Iron method – put a wet towel over your board and iron it.
Steam method – steam one side of your board over a pot of boiling water.
Force and water method – soak the board in water, then set it under a bunch of weight until it’s dry.
Grass and sun – lay your board in some wet grass and let the sun beat down on the top.
Take it to a woodworker – take it to your neighborhood woodworker and have them fix it.
And here is our suggestion:
Just turn it over! – turn your cupped board over so the convex side is facing up (so it is resting on the 4 corners and the middle of the board is raised off of your counter) and leave it there until it is flat. It sounds too simple to work, but there is a lot of science behind this super simple method!
To shed some light on why we think this is the best method for flattening a cutting board, let’s talk about why boards cup in the first place. Cupping occurs because the moisture content on one cutting face is different than the other. This is the same thing that happens when you set a kitchen sponge on the counter and one side dries out before the other - it cups. This is the same thing that happens when mud dries faster on the top surface than on its bottom surface - it cups. It's also what happens when you leave a cutting board flat on a countertop and the top dries more than the bottom - it cups!
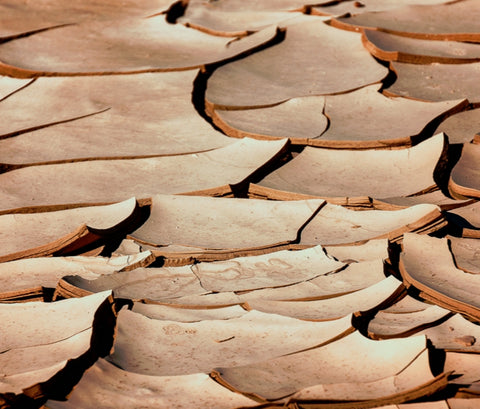
- Cupping seen in nature
When one surface of a board, piece of bread, sponge, or mud dries, it shrinks. Conversely, when a surface soaks up water, it expands. This contraction and expansion causes cupping. This 2” thick piece of wood, for example, when totally dry, measured 3 7/8" across both the top and bottom. After one night of sitting in a shallow pan of water, the top still measures 3 7/8”, but the bottom now measures 4" across and the board is visually cupped!
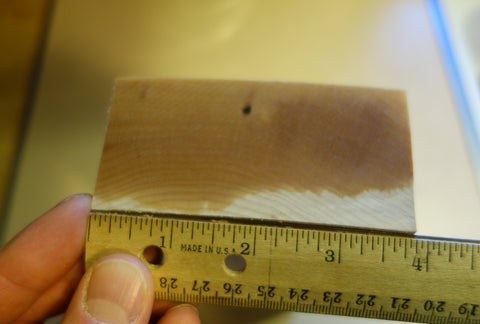
- Dry wood board width - 3 7/8"
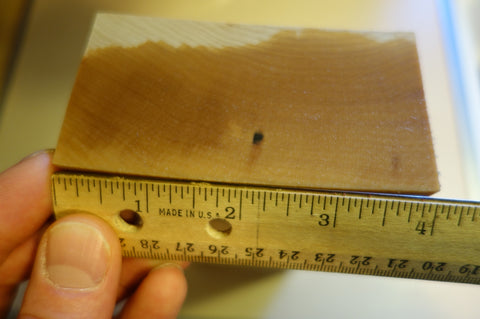
- Wet wood board width - 4"
This visual cupping is only across 4" of board. Imagine if you did this to a cutting board that was 4 or 5 times that wide; you could almost eat cereal out of your cutting board! A side note... did you think you could eliminate cupping by buying a super thick cutting board? Think again.
While our method is similar to the examples given in the opening of this post, those techniques can be bad for your cutting board. Heat and moisture methods have a tendency to flatten your board in the short term but return to their warped state shortly thereafter. Applying unnecessary heat or moisture to your cutting boards causes internal stress in the wood eventually making them weak or breakable. I admit it, woodworkers aren't the solution to all your problems either!
If you have a cupped cutting board, skip the iron, skip the steam, skip the grass, skip the trip to the wood shop (although that would be fun) and simply turn your board over. Exposing the damp side of the board to air evens out the moisture content allowing your board to flatten back out. While this method may take a few days, or weeks in the worst cases, it remains the gentlest, most permanent way to flatten a warped cutting board.
Here are some pictures from a recent test I conducted using the "turn it over" method. It works amazingly well!
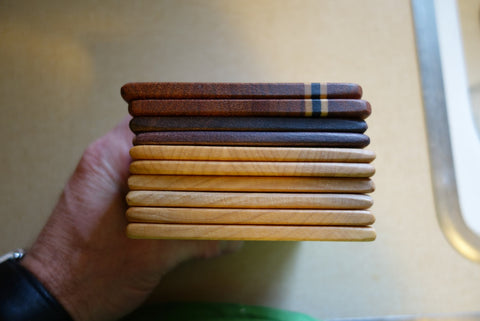
- Stack of 1/4" thick cutting boards fresh from the woodshop

- the same boards after a 12-hour soak in a shallow pool of water.
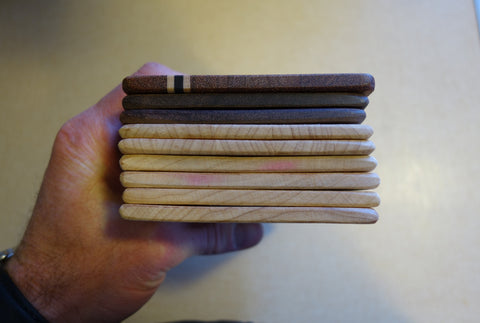
- The same stack of cutting boards after drying out for about a week.
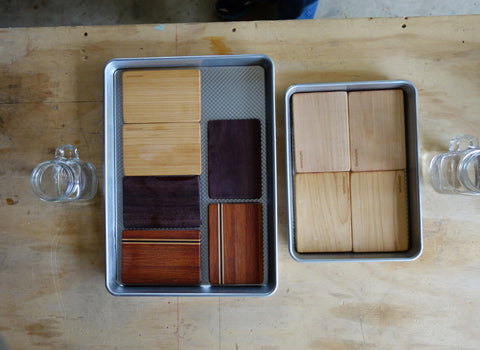
- Hey Charlotte... No baking cookies until my experiment is done!
The boards went all the way back to flat with no heat, no pressure, and no extra water.
After your board dries and flattens out be sure to follow our best practices for caring for your cutting boards.
Be sure to let us know how this method works for you.
Please share or Pin if you know someone who could benefit from this info!

